
Here is the Gradient Holiday Nail Tutorial as promised!
HOLIDAY NAILS!
This year, its been very hard for me to get into the holiday spirit. Working retail can really suck the life out of the most joyful season of the year and to be honest I am counting down the days until the whole thing is over!
To help get back into the spirit I have decided to do a holiday nail tutorial!
Gold sparkle tips, made simple, lets get started:
The tools needed:

I ALWAYS start out with a quick manicure
First: I apply SuperNail Cuticle Oil on my cuticles with a small brush
Next I push my cuticles back with a cuticle pusher, then cut them off with cuticle cutters
Quickly if needed file nails down with an Emory board
Products Used:
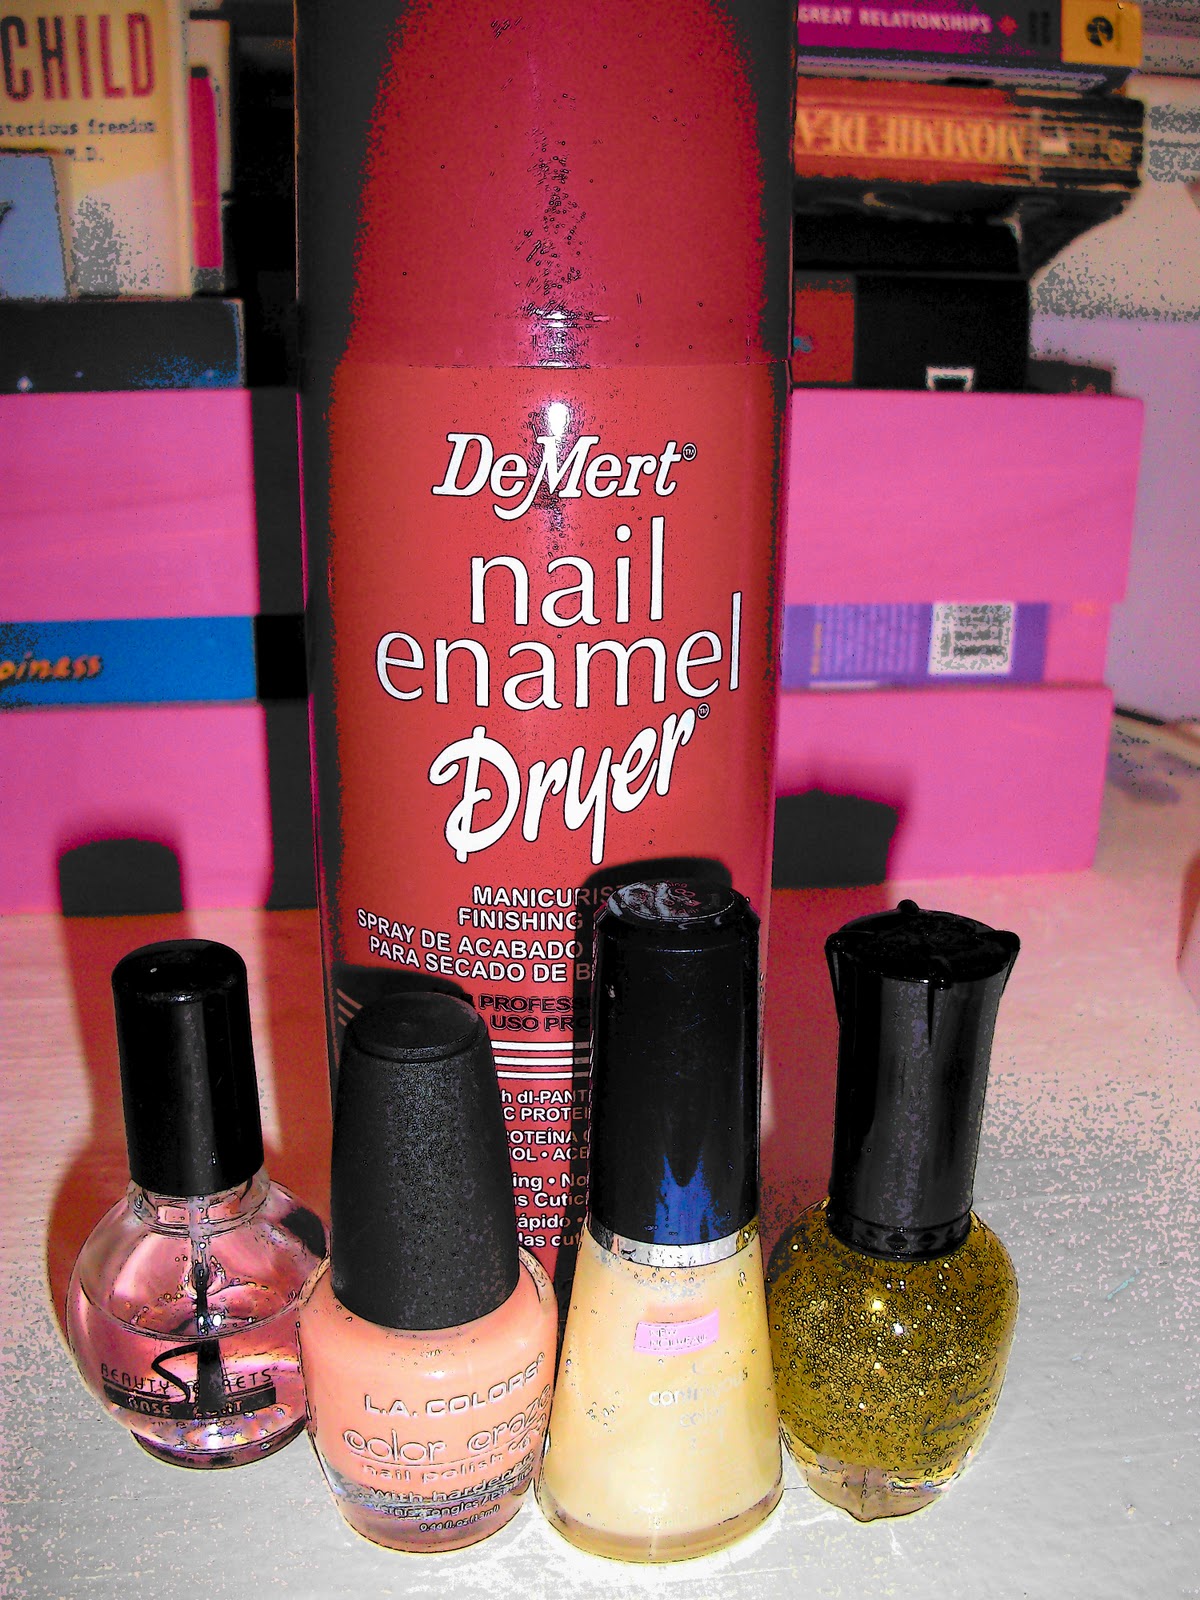
Step two: Apply a base coat to nails; I use Beauty Secrets Base Coat from Sally Beauty Supply. The base coat helps keep the polish intact longer.
Next, apply a light flesh toned polish to nails, this color has a hint of gold in it, going well with the theme, the gold tips will be the focal point of the nail so the base coat must be minimal
Step three: Using a cosmetic sponge dab a light glitter polish (almost transparent for a gradient look) ¾ way down the nail-Let dry before proceeding to step four
Step four: Using a cosmetic sponge dab a chunky glittery polish ¼ to ½ way down the nail depending on the intensity of the gradient desired. Focus a deeper intensity of polish on the very tip of the nail-Let the nail dry completely before proceeding to step 5
Step five: Add a shiny top coat to nails spray with DeMert nail enamel Dryer to help speed up the drying process if necessary
FINISHED!

In five EASY steps you now have gorgeous salon worthy holiday inspired nails!
Enjoy!
Mandz
XOXO